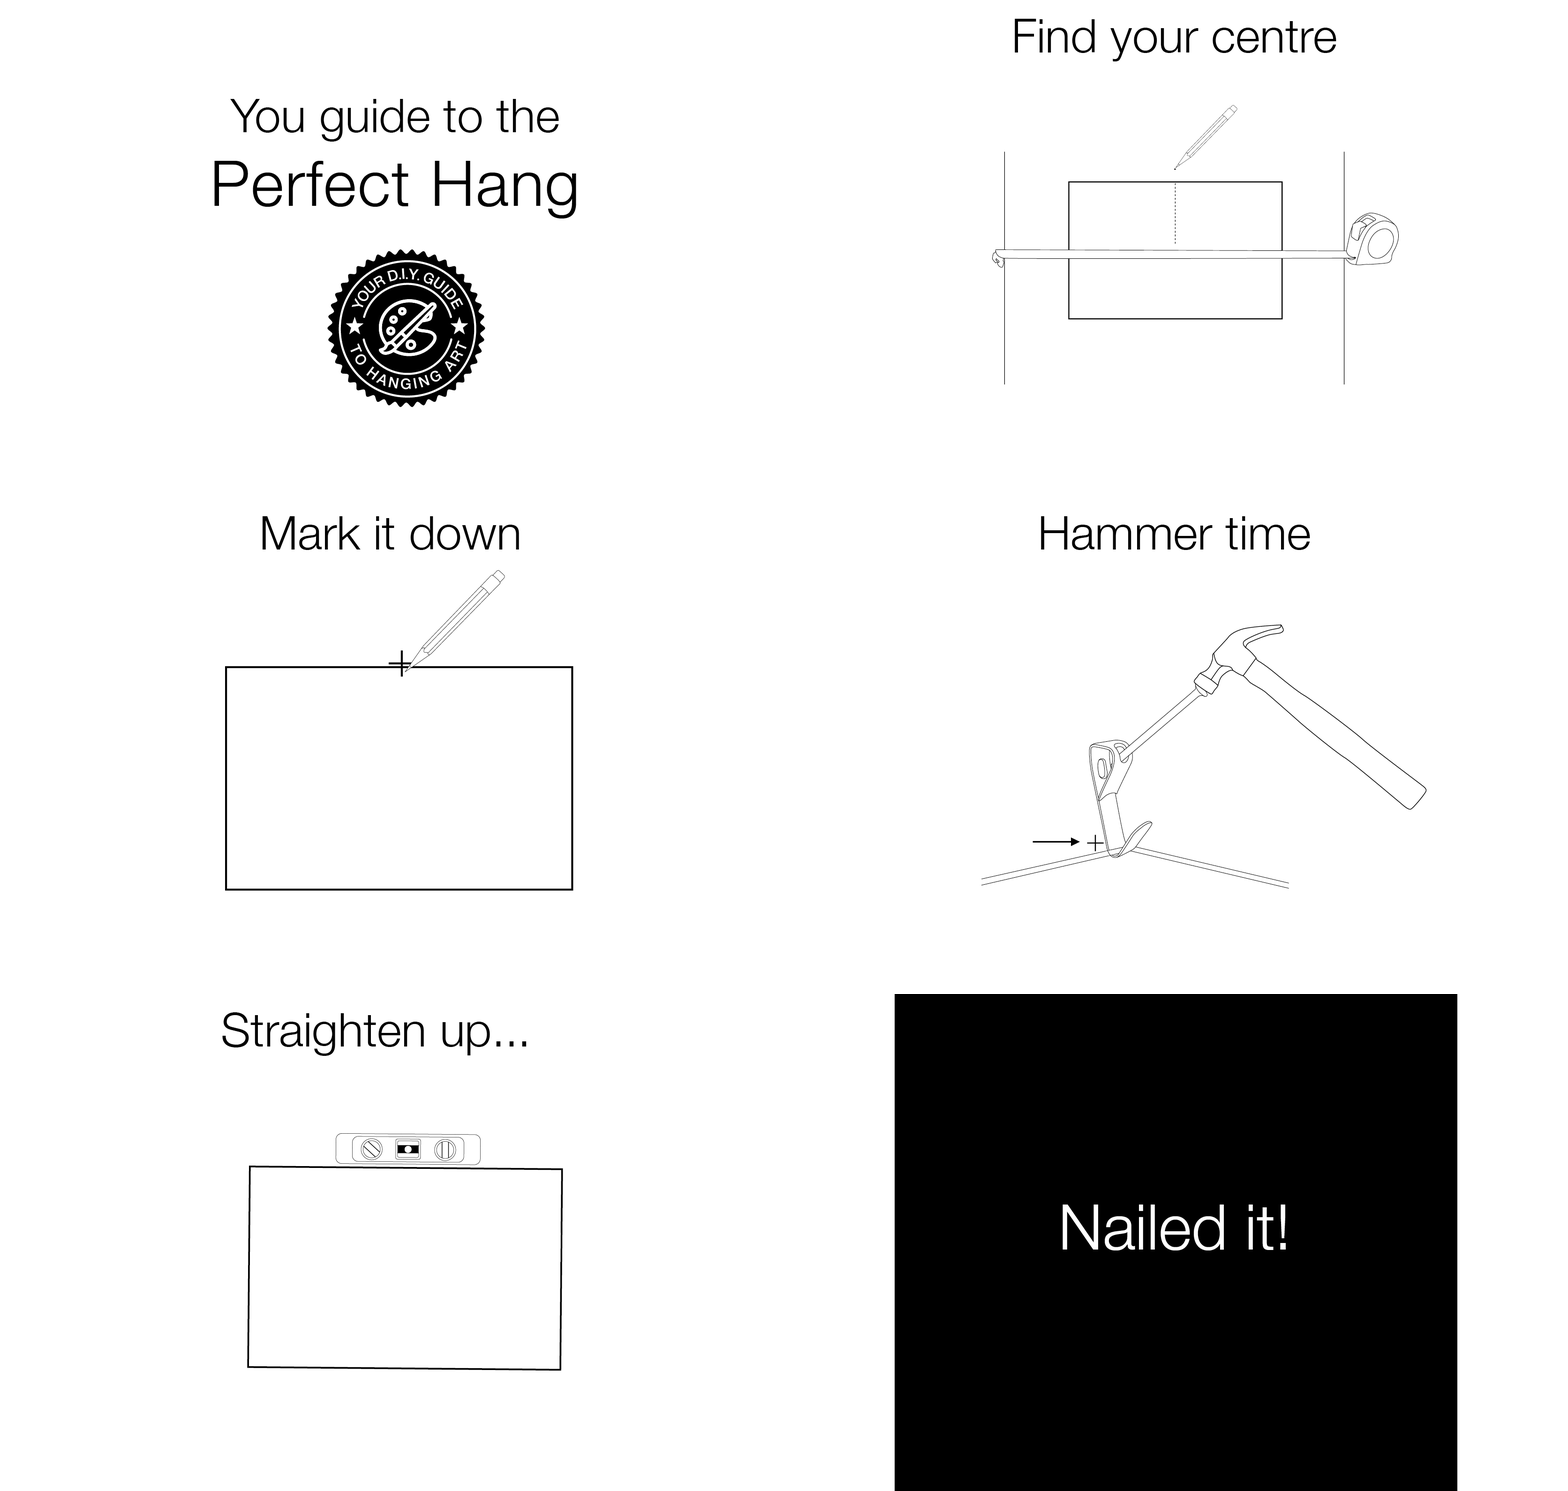
So you've gotten your beautiful new piece of original art safely home, and found the perfect wall to hang it on, but you're not quite sure how to start...
With our simple guide to the perfect hang we make hanging a breeze. Learn all the gallery tips and tricks to getting it right, first go, and you'll be on your way to enjoying your artwork in no time!

Step 1 – Find your Artwork Position
You've probably already gotten this first step out of the way, and chosen the perfect wall to hang your special new piece. Well done!
Once you've chosen your wall, you'll want to decide how high up the artwork will go. A good rule of thumb is to have the centre of the artwork at your eye-level. You can get a friend or partner to hold the artwork against the wall for you to better judge position and height.
Then it's time to bust out the measuring tape and make sure you've got things even. Use your pencil to lightly mark the wall at the top of the artwork in the centre, and make sure to measure the width of your wall space to get it perfectly spot-on and centred.
Step 2 – Get the Height Right
Flip over your artwork and have a look at the hanging wire or string at the back. You'll want to hold this taught, lifting slightly to get rid of any slack, and measure the distance from top of the wire to the top of the artwork.
Now simply mark that same distance down from the first dot you've placed on your wall. Well done! You've measured and marked the exact position your hook needs to go on the wall... its all smooth sailing from here.
Step 3 – Hammer Time!
Line up your hook and hammer it into the wall. You can put your nail directly into plaster, no need to find the stud unless you're hanging something excessively heavy.
Remember, the point you've marked is where you want the hook to sit, the nail itself will likely be a little bit higher up.
Step 4 – Straightening Up
Time to hang your new artwork on the hook. Use your spirit level to check the work is hanging nice and straight. Place the spirit level at the top of the artwork and gently adjust until the bubble is centred.
Step 5 – Break out the Champagne
Step 5... is there is no step 5! Congratulations on hanging your new artwork – it's that simple. All that's left to do is pour a glass of champagne, sit back, relax and enjoy your beautiful new piece, hung in your home and ready to be loved for many years to come.

Top Tips direct from the Gallery
- Is your artwork extra large? You might want to hang from two hooks – After completing Step 2, measure an equal distance to the left and right of your second mark, and use your pencil to mark these two spots. You'll want to place your hooks here to spread the weight of the work. Alternatively you can hang directly from the D-ring hooks used to secure the hanging wire. Make sure to measure carefully so the rings line up with the hooks.
- You can place a tiny piece of tough tac (a colourless version of blu-tac) at the bottom corners of the artwork to help fix the piece in place, and stop it shifting over time or if brushed against.
- Make sure there's some space between your artwork and any furniture or windows, you want to give your beautiful new piece room to breathe.
Need some extra help?
If you're hanging into a different surface (such as brick), have something more complicated in mind, or just need a bit of assistance, get in touch and we can connect you with an experienced art hanger. Head to our Framing, Hanging and Delivery page to request a quote.
Click the button below to check out our full Guide to the Perfect Hang document below. Full of handy images and helpful tips.